Mac Os X For Chrome
For Mac OS X 10.10 or later. The Mac OS you are using is no longer supported. Please upgrade to 10.10 or later to download Chrome Dev. Click here to get Chrome Stable. Now more simple, secure, and faster than ever - with Google's smarts.
Although you’d think it wouldn’t be possible to install MacOS / OSX on a Chromebook, someone has figured out how to do it. Once again, the world proves that where there’s a will, there’s a way. And even if you’re interested in MacOS, there’s no sense in wasting the laptop that you already have on hand.
Waste not, want not.  If you’re interested in giving it a try, or just plain curious about how it works, read on. Also see our article You’ll need to take a few preliminary steps before you get down to installing and using MacOS, and we’re going to instruct you on what needs to be done to get to that point.
Ready, set, go! Backup As with any new installation, you’ll first want to make a recovery image of the current one installed for your model Chromebook. Even if you’re sure everything will go flawlessly, not having a recovery option is basically a guarantee that something will go wrong. A recovery tool is available in the Chrome Web store. You’ll also need the media you intend to use, such as a 4GB USB stick or 4GB SD card that’s wiped completely clean for the recovery image. Then, follow the instructions.
Install Linux Now, you’ll need to get into the Chrome OS developer shell, Crosh. • Press “ctrl + alt + t” on your Chromebook’s keyboard, which in turn opens Crosh in a new tab of your Chrome Browser. • Next, type “shell.” Then, download the script that someone already wrote to make this process easier. • Type “$ cd ~/Downloads/” • Then, type “wget and press “Enter” on your Chromebook keyboard.
• Then, you’ll get the script to execute itself by typing “sudo sh ~/Downloads/change-kernel-flags” and pressing “Enter” on your Chromebook keyboard. • Now, you’re going to start up Ubuntu Linux by typing “sudo startunity.” You’ll now be in Ubuntu Linux and need to open the terminal. Once you’re in the terminal in Ubuntu, you’ll download another script that sets up your headers. Be sure you’re located in the home directory. • Type “cd ~.” • Type “wget and then press “Enter” on your Chromebook keyboard.
• Now, type “sudo sh setup-headers.sh” which executes that header script. Get VirtualBox Navigate to to download Ubuntu 14.04 (trusty) AMD64 VirtualBox for Linux. Basically, it will let you emulate types of software. • Then, in the download box, choose “Open with Ubuntu Software Center (default)” and click the “OK” button.
• In Ubuntu Software Center, click on the “Install” button. After you’ve installed VirtualBox, you’re going to open it in Ubuntu Linux. You’re going to install a new virtual machine doing the following: • In the Oracle VM VirtualBox Manager, select “New.” • Give your virtual machine a name like Mac. Then, click on the “Next” button. • Now allocate the memory size for your VM, but stay within the green line; otherwise, your VM is going to have some operational issues such as crashing, which you don’t want happening.
Click the “Next” button. • Next, you’ll create a virtual disk image. The size recommendation is 20GB for the VM; you can use a USB flash drive if your Chromebook has less space than that available.
Then, click the “Create” button. • On the next screen, select “Create VDI (VirtualBox Disk Image)” and click the “Next” button. • Select a dynamically allocated hard disk file on the next screen and click the “Next” button. • The final step in creating your Mac VM is selecting the file location for it and choosing the size you’d like it to be. Click the “Create” button once you’ve finished.
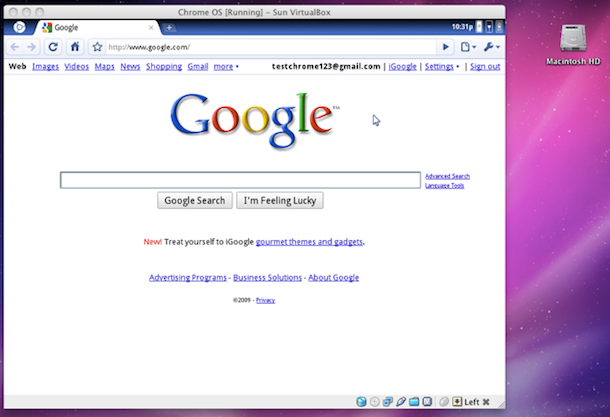
Mac VM VirtualBox Settings When your Mac Virtual Machine gets created, you’ll want to go into “Settings” in the Oracle VM VirtualBox Manager. • Go to “System” and where it says “Extended Features,” uncheck “Enable EFI (special OSes only)” and uncheck “Hardware Clock in UTC Time.” Make sure the base memory falls within the green line. • Then, click on the “Acceleration” tab. Where it says “Hardware Virtualization,” ensure that both the “Enable VT-x/AMD-V” and “Enable Nested Paging” are both checked “off.” • In “Display,” you can use the maximum amount of video memory that’s available. • The storage made for your Mac VM should be located where enough space is available either on your Chromebook, USB flash drive, or SD card. • Next, in “Storage,” add an optical drive in “Controller: SATA,” and then you’ll click on “Choose disk” and navigate to the location where you have your Mac ISO file located. Install and Use MacOS Start the MacOS Virtual Machine in VirtualBox.