How To Do A Clean Install For Mac Book Air
Windows 7 clean install on MacBook Air. Ask Question 0. I'm currently considering the purchase of a MacBook Air (late 2010). I know its possible to dual boot OS X and Windows 7 on it, but given the limited space on the Air and the fact that I will not use OS X, is it possible to completely get rid of OS X? Should I clean all of my cooking.
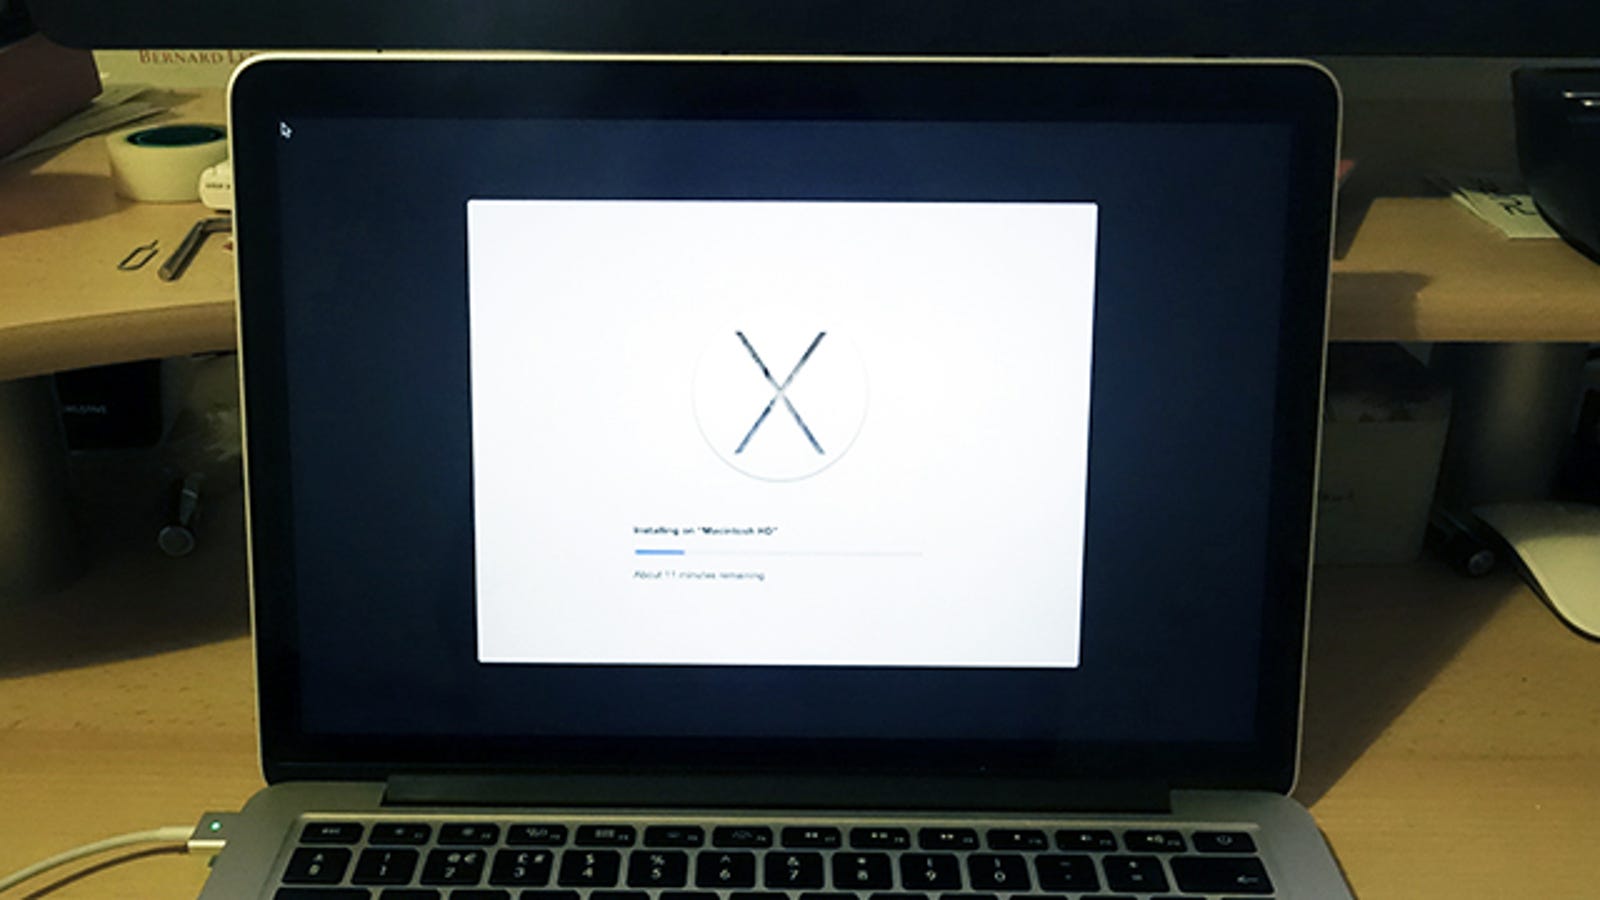
This is Windows 7 being installed on a MacBook Air from a USB thumbdrive. Note: it's not a requirement that the thumbdrive is pink. Dong Ngo/CNET So you've gotten yourself the sleek new MacBook Air and your first thought is to install Windows 7 on it. OK, that's my first thought. The problem is the laptop has no optical drive, meaning you'll probably have to buy an accessory that costs around $80 to do the job. Well, unless you're reading this.

Yes, it's totally possible to install Windows 7 (or Vista) on the MacBook Air without a DVD drive. All you'll need is a computer running Windows 7 (that has a DVD drive), a 4GB or larger USB thumbdrive, a Windows 7 installation DVD, and about an hour of free time. Note: make sure you back up the contents of the thumbdrive as they will be completely erased during this process.  Also, the actual work is a lot shorter and less intimidating than the look of this article.
Here are the detailed steps. Getting Windows installation on the thumbdrive. On the Windows 7 computer, plug the thumbdrive into a USB port, then start the command prompt with administrator rights. This is how: a. Click on Start, type cmd in the search area, then press Ctrl + Shift + Enter.
Click on Start > All Programs > Accessories, right-click on Command Prompt and select Run as administrator. Now that the command prompt has opened, you'll want to use a tool called Diskpart to prepare the thumbdrive by typing in diskpart and then pressing Enter. As Diskpart doesn't see storage devices on your computer as drive letters, but rather as a list of disks, you'll need to identify the thumbdrive. You can do this by typing command list disk then pressing Enter. Now the screen will show a list of storage drives currently connected to the computer, starting with Disk 0. You can easily figure out which one the thumbdrive is by looking at the amount of storage. A 4GB thumbdrive will show as around 3856MB.
For this guide, as seen in the screenshot below, the thumbdrive is Disk 3. Now you want Diskpart to select this drive by typing command select disk 3 then pressing Enter. So far we have used the following commands: diskpart list disk select disk 3 Note: In case you mistype a command (and then will be greeted with an error message), you can always redo it.
These commands are not case-sensitive. If you have done everything correctly, the command prompt window should be displaying something like this: Run command prompt with admin rights and use Diskpart to select the current thumbdrive. Dong Ngo/CNET 3.
Now we'll need to further prepare the thumbdrive by executing another handful of commands, one after the next. Remember to press Enter after each of them. Clean create partition primary select partition 1 active format fs=ntfs assign exit Note that format fs=ntfs will take about 5 to 10 minutes to finish depending on how large the thumbdrive is. During this time you will see an indicator of the formatting process. Again, if you have done the steps correctly, the command prompt window will look like the screenshot below. This is what you should see if you have typed in all the commands correctly.
Dong Ngo/CNET Note: after the command assign is executed, Windows will indicate (likely via a pop-up message) that a new drive has just been plugged in. This is because the thumbdrive has just been assigned a drive letter. Without closing the command prompt window, you can open the 'Computer' to see what the drive letter of the thumbdrive is. For this guide, the drive letter is H.
However, this letter is likely different in other cases, depending on how many storage devices the computer currently has. We need to make the thumbdrive bootable by transferring boot information over from the Windows 7 installation DVD.
Insert the DVD into the computer's DVD drive. Again, for this guide, this is the E: drive of the computer.
Go Back to the command prompt window (if you have closed it by accident, you can redo step 1 to open it again), execute the following commands: e: cd boot bootsect.exe /nt60 h: Again e: is the drive letter of the DVD drive and h: is the drive letter of the thumbdrive. After that, the command window will show a message similar to the screenshot below. The thumbdrive is now made bootable. Dong Ngo/CNET 5. Copy the entire contents of the Windows 7 installation DVD onto the thumbdrive by selecting all items in the E: drive and dragging them over to the H: drive. This will take another 5 or 10 minutes depending on how fast your DVD and the thumbdrive are. After that, the thumbdrive can now be used to install the OS onto any PCs.